Tutorial: Creating a simple Company Logo

Links
-
1
If you want to use my font download it from the right side (tutorial details), install it in your OS and restart GIMP.
Create a new file. I’ve used a small size, just for demonstration purpose, you can use any size you want.
-
2
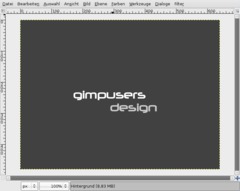
Now write two text-pieces on the layer. I’ve user “gimpusers” (white color) and “design” (#cbcbcb as color). Font size: 40px. Deactivate the “hinting”-option, since it is only useful for small fonts. We’ve relatively big ones here ;)
Take the Move-Tool and put the text to the position shown on the picture below.
-
3
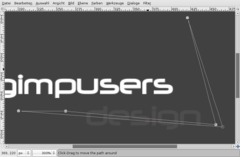
The next step is to create a path, so that our text more becomes a real logo. We will draw a nice curved “thing” ;) around our text.
To do this please take the paths-tool (B). Start clicking in the bottom left until you have the same points as seen on the picture. I have set the opacity for “design” very low to better show you the points I made.
-
4
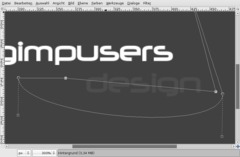
When reaching the first point, holt CTRL to unify the last point with the first. You should then have a fully closed path. You can still move points around if you’re not satisfied with your path.
After completion move the bottom edge downwards (click in the middle of the edge and drag it to the bottom). It should be a curve now!
-
5
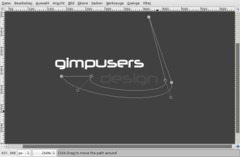
With the two dashed lines appearing now you can affect the curve. Drag the left dashed line a little more to the middle, it should become more even. The right dahed line move a bit to the right. If you look at the line above the dashed line should become one long even line.
After that take the edge thats above the line we just adjusted. Move the dashed lines as seen in the picture!
-
6
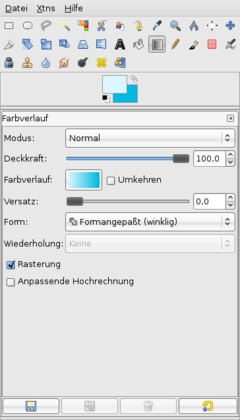
Click ENTER now and you should get a selection of the path.
- create a new, empty layer
- set #dcf6ff and #00b8e0 as BG-color.
- take the gradient-tool or just press LLook at the settings on the picture!
-
7
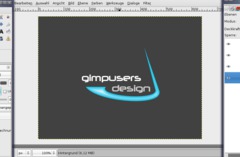
Now draw the gradient anywhere on the layer, doesn’t matter where. The selection is then filled with the gradient.
Press CTRL SHIFT A or go to Selection / None to deselect all.
-
8
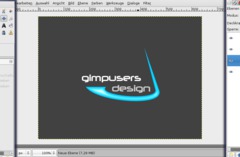
Colors / Brightness & Contrast: -25/+35.
-
9

My layers look like this at the moment:
-
10

Now we add a small shadow to give the logo more depth.
- rightclick the layer with the colored form in the layers-dialog.
- “Alpha to Selection”
- add a new layer below the form-layer.
- fill the selection with black and set the opacity of this layer to 25%.
- take the Move-Tool now, in the settings select “Move the active layer” and then move the layer a bit to the bottom!Thats it! I hope you like it!


Comments
Post your own comments, questions or hints here. The author and other users will see your posting and can reply to it.
Of course, you can also ask in the chat.
Subscription management
Please log in to manage your subscriptions.
User rating
This topic (Creating a simple Company Logo) has been rated 5.0/5.0.
New comments are disabled because of spam.