Tutorial: GIMP 2.4: The new features
Links
-
1
Brand new selection tools
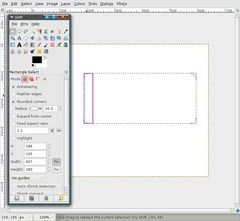
The old selection tools have been thrown overboard and are replaced by ones that are totally rewritten for your selection pleasure.
After a selection is made, rectangular and elliptical selections can be adjusted and moved easily without using the transform tool.
This is an interactive process now: Just change the selections size at the edges. Also, if a selection is already active and you worked with it, you can click inside the selection and you can then resize it and work further.
Additionally you can get rounded corners on rectangular selections by selecting it in the tool preferences.
-
2
Desktop color picker
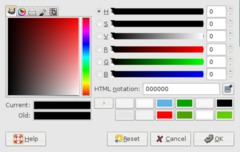
In the dialog where you choose your colors you can now use the pipette to pick a color from everywhere on your screen (not just from your images).
-
3
Redesigned menus
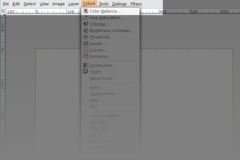
The user interface has been redesigned, especially the top and context menus. There is now a seperate menu for colors, and the ScriptFu and PythonFu menu are no longer available. All filters and plugins can now be found in the Filters menu. For instance: Script-Fu → Shadows → Drop Shadow is now located at Filters → Light and Shadow → Drop Shadow. This is much more intuitive.
-
4
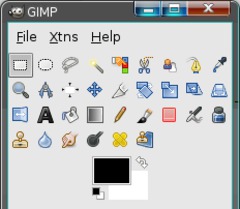
New tango style icons
The new tango style has more colors and is much more visually pleasing! The new icons have been designed to comply with the Tango Style Guidelines. All operating systems are supported by this new polished look.
-
5
Brightness & Contrast behaviour
When using the Brightness & Contrast color plugin you can now simply click inside the image, hold the mouse button down and move the mouse to the left, right, up or down while the image’s brightness and contrast will be adjusted.
-
6
Copying SVG files
Information in the SVG format (scalable vector graphics) can now be easily exchanged between applications (e.g. paths in GIMP and Inkscape).
-
7
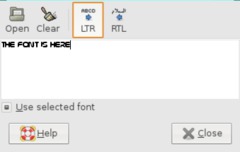
Enhanced text plugin
You can now see the actual font you are using — not just on the canvas as usual, but also inside the text editor.
-
8
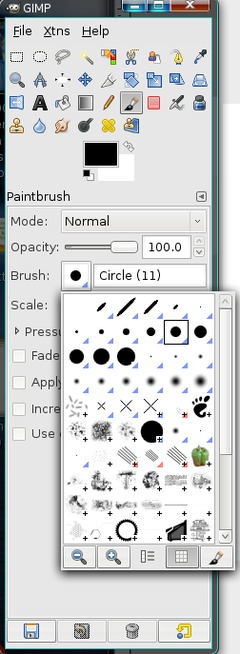
Dynamic brushes
All brushes that are marked by a small blue triangle in the bottom right corner are so-called dynamic brushes now. Their brush size can be changed dynamically by pressing Alt Gr+[ to scale down or Alt Gr+] to enlarge the brush. You don’t have to readjust the brush in the brushes editor any longer.
-
9
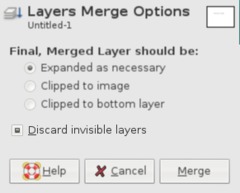
Merge Layers dialog has a new option
When pressing Ctrl+M or go to Image / Merge Layers, the dialog now has a new option where you can discard invisible layers automatically.
-
10
Speed!
There have been done lots of performance enhancements to the new GIMP 2.4:
- Launching GIMP is now faster
- The often-used Gaussian blur filter is working faster
- Even so does the selective Gaussian blur
- Inverting values has been optimized and works faster now -
11
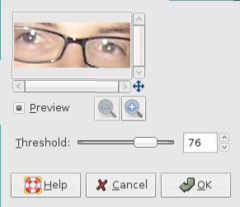
New plugin: Red Eye Removal
A new plugin takes care for red eyes effect that often occurs when using cameras that have no pre-flash to avoid this. Make a elliptical selection around the eyes, the use the threshold option of the plugin to remove the redness of the eyes.
-
12
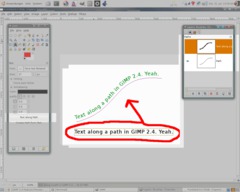
Text on a path
Although GIMP is no vector graphics editor, it has some nice basic functions. The new text-to-path option allows you to write/align text along a specified path. The aligned text is created as a new path that can then be used as a selection and be filled with a certain color.
-
13
Strong undo/redo
By pressing Shift+Ctrl+Z / Shift+Ctrl+Y it is now possible to undo a bunch of actions at one time. This is good for experimenting on something!
-
14
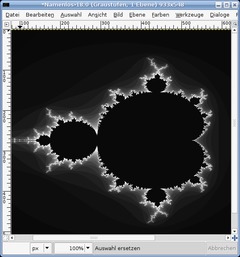
The fractal explorer is now also working on grayscale pictures.
-
15

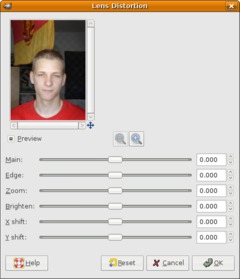
Preview windows found in various filters or plugins have a better navigation now. Just use the cross to get a certain part of the image in the preview and use the zoom functions to navigate on the picture fast.
-
16
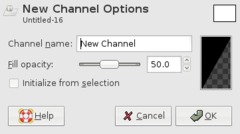
New channels feature
In the channels dialog there is a new very useful function to initialize the channel automatically from the active selection.
-
17
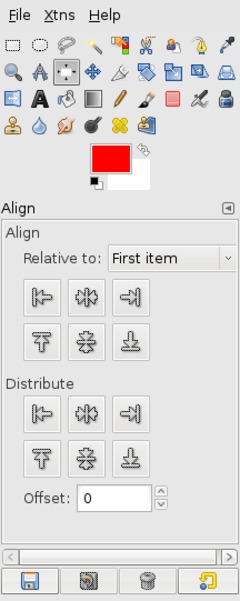
New alignment tool
For all those who had the pain to manually align a layer very exactly: GIMP 2.4 comes with a new tool that allows you to easily position layers exactly by entering values and/or align a layer relative to the picture or to another specified layer.
For example, you can now align a layer exactly into the middle of the canvas by just clicking 2 buttons!
-
18
New tool: Foreground extraction
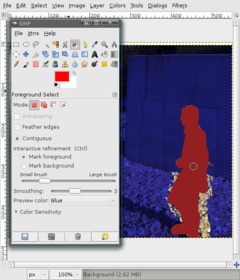
By using this tool, you can extract objects of a picture intuitionally. It uses the SIOX algorithm. Just select the tool, then tell it which object you want to mask by making a rough selection around it.
Then you paint in the object approximately. After that, the algorithm tries to to detect edges and brightness to select the object by itself. You can redo the painting step until the object is masked perfectly from the background.
By pressing Enter you get the final selection.
-
19
Color management
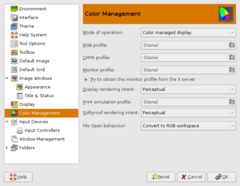
This is the first time you can use color profiles (.icc or .icm) in the GIMP. GIMP can now read color profiles and convert/adjust it on your wish!
-
20
Use Del to remove
No more Ctrl+K to remove certain parts in the image. You can use Del from now on to delete or remove parts of the picture.
-
21
Fullscreen edititing
Use the Tab key to toggle visibility of all dialogs. So you can use the whole screen (the maximized full picture window) for your image editing without having to move around dialogs that disturb you from viewing some parts of the image.
-
22
Crop tool redesigned
The crop tool gains all advantages of the new selection tools (live resizing… etc.)!
-
23
New: Perspective cloning
This brand new tool allows the well known cloning tool to be used in perspectives. Specify a perspective in the picture. The cloned parts are the automatically drawn in the correct perspective! Very cool feature!
-
24
Heal image irregularities
The new heal tool lets you easily remove unwanted parts on an image, for example pimples on a person’s face. It clones a given part by readjusting the neighbour pixels so the cloning is not so obvious.
-
25
New filter: Lens distortion
There is also a very cool new plugin in the Filter / Distorts menu that is very useful for photographers. Lens distortion allows you to correct lens distortions or to apply some changes only to the 4 corners of an image, e.g. if your corners are a little darker then the rest of the picture.
-
26
Adobe Photoshop V2 brushes (.abr) are supported now. You can use and import them to GIMP 2.4.
-
27
Miscellaneous enhancements
- .bmp files now have support for 16/32 bits and alpha channel support.
- better status displays for plugins, filters
- 24 bit Vista icons can be opened and saved
- layer masks can be saved to psd files
- very long layer names in psd files are now supported
- enhanced EXIF support for JPEG files
- new speed control for the animation plugin… and many more small but useful improvements ;)
-
28

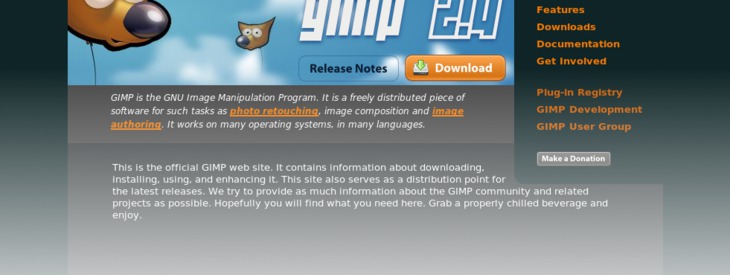
Last but not least, the gimp.org Website has been redesigned and comes with a fresh cool orange/black look! Great work.



Comments
Post your own comments, questions or hints here. The author and other users will see your posting and can reply to it.
Of course, you can also ask in the chat.
Subscription management
Please log in to manage your subscriptions.
New comments are disabled because of spam.