Tutorial: "Solar winds" graphics effect

Download GIMP workspace (.xcfbz2) (2.27 MB)
-
1
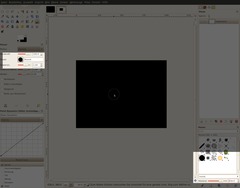
- Create a new image with a black background and 1024×768 size.
- At first we have to do some brush settings. Select the brush tool and choose a hard, big brush.
- Open the brush dialog (Window / Dockable Dialogs / brushes) and set the spacing to 150%, so that brushes have a space between each other when they’re placed on the workspace.
-
2
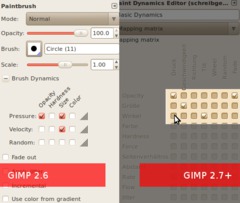
For the brush tool, select the brush dynamics like in the image.
In GIMP 2.7+, choose:
- “Opacity” to “pressure” and “fade” and
- “Size” to “velocity”So the brush becomes smaller the faster you paint.
-
3
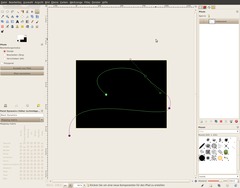
In the next steps we will outline 3-4 paths.
- Let’s begin with the first path. Select the path tool. Click on some places in the image and change the curves at the points, but don’t merge the path because the points shall not become connected. Create a nice-looking curve.
-
4

Click on “Stroke path”, then select the option at the bottom and choose “emulate brush dynamics”.
-
5
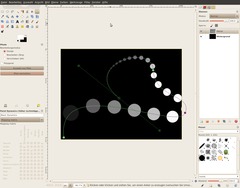
- Create a new transparent layer.
- Click on “Stroke” in the “stroke path”-dialogue. Now there should be points that become smaller along the path.
-
6
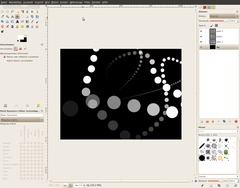
- Create 2-3 more paths. For each path, reduce the brush scaling by about 1/3 (for instance, 1.00 for the second path and 0.5 for the third).
I created and outlined 3 different paths.
-
7
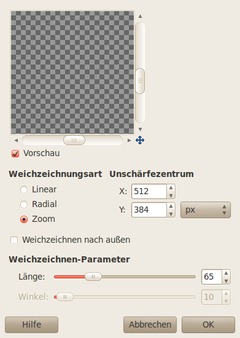
Now apply Filter / Motion Blur to the first path (use the values from the illustration). Make sure that “Blur outward” is disabled.
-
8
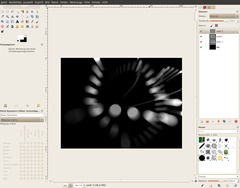
Repeat this for all your paths.
-
9
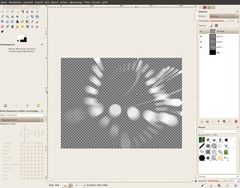
- Disable the background layer.
- Right-click in the layers dialog on the topmost path and select “New from Visible”. -
10
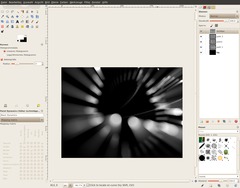
- Select the topmost layer and open the Motion Blur again using Ctrl+Shift+F. This time, enable “Blur outward” and set the value to 140 or higher. Apply the filter.
- Make the background layer visible again by clicking the eye symbol in the layers dialog.
-
11
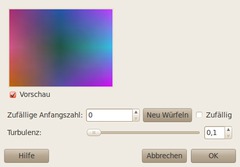
Now let’s get some color into play.
- Create new transparent layer. Then, for this layer:
- Filter / Render / Clouds / Plasma (use the values from the screen shot). -
12
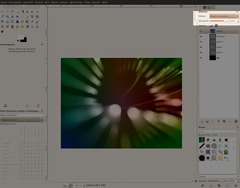
- Set layer mode to “Grain extract”.
-
13
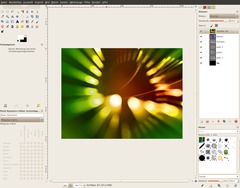
- Right-click on the topmost mayer again and create “New from Visible”.
- Now do Colors / Color Balance:
Shadows: 0 / 0 / -40
Midtones: 20 / 0 / -65
Highlights: 25 / 10 / -40(Of course, you can play around with the color settings yourself.)
-
14

Duplicate the layer, set the layer mode to “Multiplicate” and opacity to 50%.
Ready ;)
-
15

Here you can see another version with smaller spacings and other curves.


Comments
Post your own comments, questions or hints here. The author and other users will see your posting and can reply to it.
Of course, you can also ask in the chat.
Subscription management
Please log in to manage your subscriptions.
New comments are disabled because of spam.